


Using a wearable baby thermometer correctly starts with four things: clean, dry skin; a fresh compatible adhesive; full sensor contact in the armpit; and a receiver that is charged, connected, and close enough to alert you. Once the patch is in place, your baby can rest while you check the available reading without starting a new manual measurement each time.
That makes a wearable especially useful during a nap, overnight, or any stretch when you expect to look at temperature again. You can also use it during an ordinary rest period if you want the reading available. The important point is to use it for ongoing home monitoring, not to let one number replace what you can see in your baby’s feeding, breathing, alertness, and behavior.
This guide takes you through the whole routine, from preparing the skin and placing the patch to handling alerts, removing the adhesive, and getting ready for the next use.

When Does a Wearable Baby Thermometer Fit Your Routine?
A wearable baby thermometer fits best when you want temperature to remain available after the first check. With a forehead thermometer, each new reading means bringing the device back, positioning it again, and taking another measurement. With a wearable, the sensor stays in place and the receiver continues to show the current reading.
That can be useful during a fever night, but illness is not the only possible use. Some parents set it up before a long nap, during travel, or when a baby has recently had a vaccination and they want an easier way to keep an eye on temperature. You do not need to watch the display constantly. The value is that you can look when the routine calls for it, without waking or repositioning your baby for every check.
For families considering the format, our comparison of a wearable vs. forehead baby thermometer explains how ongoing monitoring differs from a quick spot-check.
Before You Put On the Wearable Thermometer
Take a minute to prepare the device and the care area before lifting your baby’s arm. It is much easier to get good contact when the adhesive, sensor, and receiver are already within reach.
Start with clean, dry skin
Choose bare underarm skin with no lotion, oil, cream, or visible moisture. If the area needs cleaning, let it dry fully before applying the adhesive. A damp or slippery surface can make the edges lift sooner and may leave the sensor sitting unevenly.
Look at the skin before every session. If you see redness, broken skin, or irritation, do not cover the area with another adhesive. Give the skin a break and follow the advice of your pediatrician if the irritation concerns you.
Prepare a fresh adhesive and the sensor
Use a new adhesive that is designed for your thermometer model. Reusing a patch that has already been peeled away can reduce how securely it sits and may bring lint or skin oil back onto the contact surface.

For the VAVA Smart Baby Thermometer, the replacement adhesive patches use numbered release papers. Put the temperature patch through the opening, remove the papers in the order shown, and secure the sensor to the non-woven tape. Keeping the numbered sides visible until each step is complete makes the small pieces easier to manage.
Check the receiver before placement
Turn on the receiver and check that the sensor has enough charge for the period you plan to monitor. Keep the receiver beside you during setup, so you can see that the connection and display are working before your baby settles.
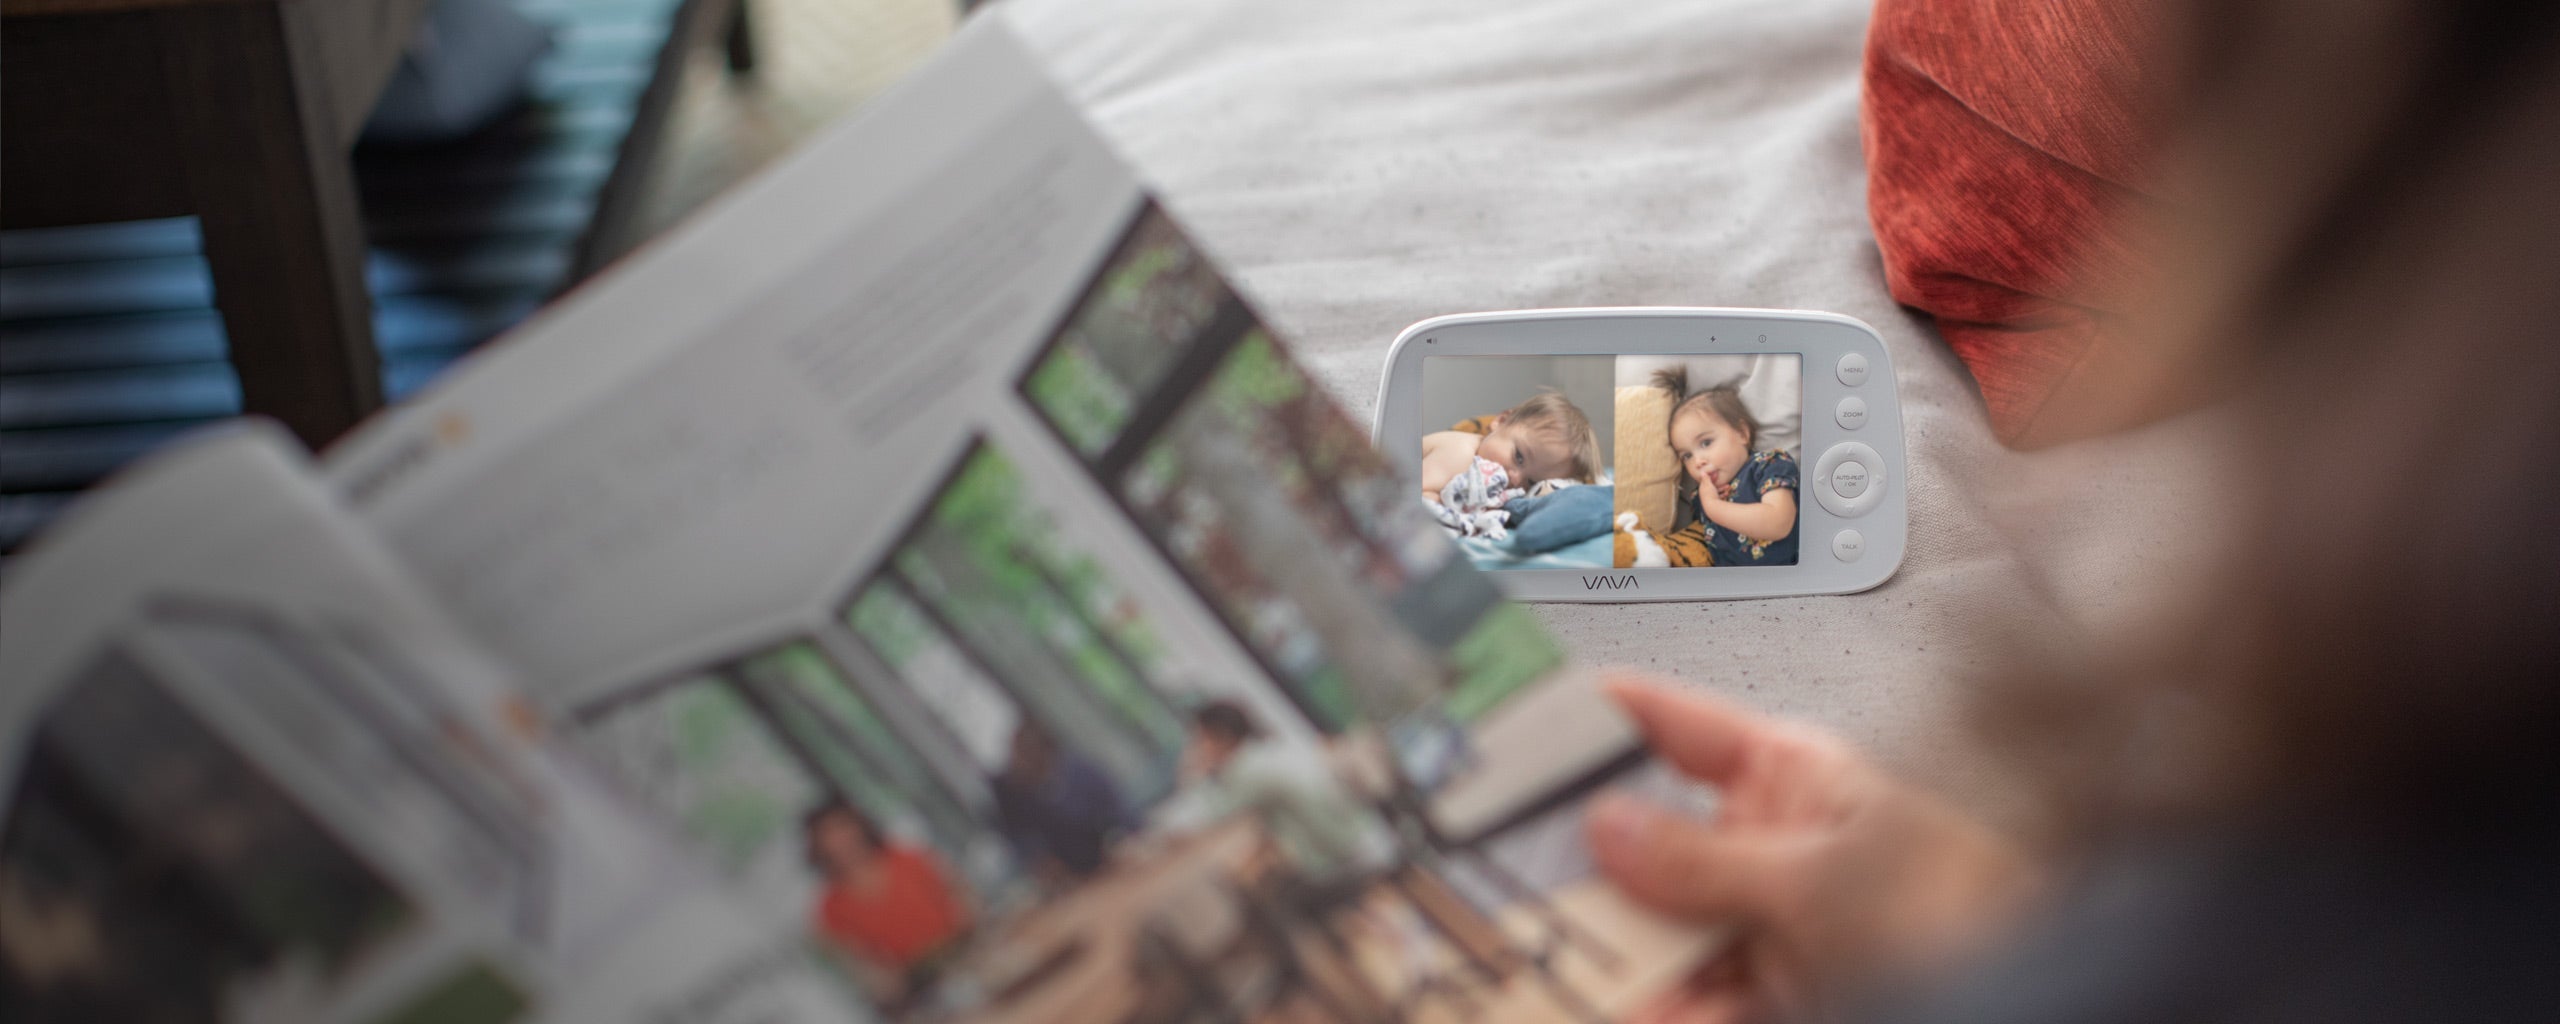
The VAVA Smart Baby Thermometer uses a separate display rather than a phone app. It offers real-time readings, audio and visual fever alerts, up to 24 hours of battery life, and Sub1G wireless transmission. VAVA lists a stable connection of up to 15 m (49 ft) in typical home use, so choose a place where you can hear or see the receiver and keep it within that range.

How to Place a Wearable Baby Thermometer Under the Arm
Place the sensing area high in the armpit against bare skin, then bring your baby’s arm gently back against the body. The sensor should sit flat rather than riding on a clothing seam, folding at the edge, or hanging below the hollow of the armpit. This follows the basic underarm technique in the NHS guidance for taking a baby’s temperature.
- Lift your baby’s arm gently so you can see the center of the armpit.
- Place the VAVA sensor in the armpit with the slim end pointing upward, following the product’s placement direction.
- Press the adhesive from the center outward so the sensor stays flat and the edges make even contact with the skin.
- Lower your baby’s arm naturally against the body. This helps keep the sensing area in place without holding the arm in an uncomfortable position.
- Look at the receiver before dressing or settling your baby. Confirm that a reading is available and the connection remains active.

You can use either armpit unless your child’s healthcare professional has given you a different instruction. Whichever side you choose, keep the sensor centered in the hollow of the armpit and avoid placing it across clothing or the outer chest.
What to Check After the First Reading Appears
Once a reading appears, pause for a quick practical check. You are not judging the number yet; you are checking whether the setup is ready to stay in place.
The patch should lie flat, your baby should be able to lower the arm comfortably, and the receiver should keep showing the temperature from the place where you plan to keep it. Walk to the bedroom, kitchen, or living room you will actually use. If the receiver remains connected there, you have tested the routine rather than only the nursery.

Clothing should sit loosely enough that it does not tug at the patch. During a diaper or clothing change, glance at the adhesive edges before resettling your baby. If an edge has lifted or the sensor has shifted away from the underarm, replace or reposition it according to the product instructions.
How to Use the Receiver During Naps and Overnight
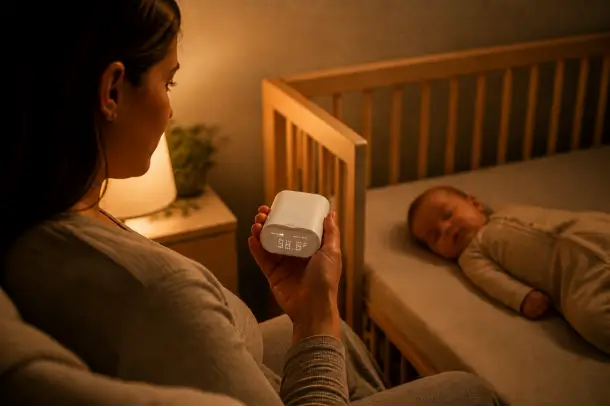
Keep the receiver somewhere you will naturally notice it, such as a bedside table or the counter near your evening routine. It should not be buried under bedding, left in another part of the home, or placed where the alert cannot be heard.
The VAVA receiver shows the current temperature and uses sound and light to draw your attention when the fever alert is triggered. An alert is a prompt to look at your baby and the reading. Check how your baby is acting, feeding, breathing, and waking, then follow the age-appropriate next step for the situation.
If you may need to speak with a pediatrician, write down four details: the temperature, the time, that it was an underarm wearable reading, and any symptoms or changes you noticed. A short record is easier to rely on than trying to remember several checks from the middle of the night. The downloadable routine later in this article includes a simple space for these notes.

What to Do If the Reading or Connection Looks Wrong
Start with the part of the setup most closely connected to what you see. A quick check can often tell you whether the patch moved, the receiver went out of range, or the battery needs attention.
|
What you notice |
Check first |
What to do next |
|
No reading appears |
Sensor charge, receiver power, and underarm contact |
Recheck the setup and connection before settling your baby again. |
|
The reading changes suddenly |
Whether the patch lifted or the sensor shifted |
Smooth or replace the adhesive and return the sensor to the correct underarm position. |
|
The connection drops |
Distance, walls, and receiver location |
Bring the receiver closer and confirm the display reconnects in the room where you will use it. |
|
The fever alert sounds |
The displayed temperature and how your baby looks and acts |
Stay with your baby and follow the age-appropriate guidance from your pediatrician. |
|
The skin looks red or irritated |
The skin under and around the adhesive |
Remove the patch gently and do not apply a new adhesive over irritated skin. |
Troubleshooting should stay short. If your baby seems seriously unwell, is difficult to wake, has trouble breathing, or you are worried for any reason, stop working through device checks and seek medical advice.
How to Remove the Patch and Prepare for Next Time
Support the skin with one hand and peel the adhesive back slowly with the other. Do not pull the sensor straight away from the body. A slow, low peel is usually gentler than lifting the patch upward in one quick motion.
After removal, check the skin and let the area breathe. Discard the used adhesive. Clean the reusable sensor only as directed for the model, then dry it before placing it back in its storage or charging position.
Recharge the sensor and receiver after the session if needed. Restocking the adhesives at the same time means the next setup does not begin with a search for a missing piece.
When a Temperature Reading Needs Medical Attention
Your baby’s age and symptoms determine what happens next. A wearable reading can show you that the temperature has changed, but the response should still follow the measurement method and guidance recommended for your child.
For a baby aged 3 months or younger, the American Academy of Pediatrics advises calling the pediatrician immediately for a rectal temperature of 100.4°F (38°C) or higher. If the wearable underarm reading is high or your young baby seems unwell, contact the pediatrician and follow their instructions for confirmation rather than trying to convert the underarm number yourself. Its temperature guidance explains why the measurement site should be included when you report a result.
For an older baby, call promptly when the child looks very unwell, is unusually difficult to wake or comfort, is feeding poorly, has signs of dehydration, develops an unexplained rash, or has breathing difficulty. The number is useful, but it is not the only reason to act.
VAVA’s guide to taking a baby’s temperature accurately explains how rectal, forehead, ear, armpit, and wearable methods fit different situations.
Here's a routine sheet turns the main steps into a one-page reference you can keep near the receiver. It covers what to check before placement, during monitoring, after an alert, and after removal, with a small log for the time, reading, method, and notes.
Download the editable routine checklist (XLSX)
Download the printable A4 routine (PDF)
Conclusion
The first time you use a wearable baby thermometer, the adhesive papers, sensor position, and receiver can feel like several separate things to remember. After a few sessions, they become one short rhythm: prepare the skin, place the sensor, check the receiver, and look in on your baby when the reading or alert asks for your attention.
Keep the routine sheet nearby until those steps feel familiar. On a tired night, having one less process to reconstruct can make it easier to focus on the person who matters most: the baby in your arms.
FAQs
1. Can my baby wear a wearable thermometer while sleeping?
Yes, when the thermometer is designed for continuous underarm use and is placed according to its instructions. Check that the patch is secure, clothing is not pulling on it, and the receiver remains connected before your baby settles.
2. Can I put a wearable baby thermometer on either armpit?
Yes for the VAVA model. Choose the side that gives you the clearest access, then place the sensor high in the center of the armpit and let the arm rest naturally against the body.
3. Do I need a new adhesive every time?
Use a fresh compatible adhesive for each new session. A used patch may no longer sit as securely and can collect skin oil or lint after removal.
4. What should I do if the patch starts to lift?
Check whether clothing or movement is pulling at the edge. If the adhesive no longer holds the sensor flat in the correct underarm position, remove it and apply a fresh patch rather than layering extra tape over the old one.
5. Can I use the VAVA wearable thermometer without a phone?
Yes. The VAVA Smart Baby Thermometer sends the reading to its separate receiver and does not require a smartphone app for the everyday monitoring routine.
Resources
- NHS: How to Take Your Baby’s Temperature
- American Academy of Pediatrics: How to Take Your Child’s Temperature
- American Academy of Pediatrics: Fever and Your Baby

Share: